STATUS: COMPLETED
CATEGORY: SPEAKERS
YEAR: 2017
THE MISSION: WIDE SOUND
Building the CBT-36: My Journey with Constant Beamwidth Transducers
I first heard these incredible speakers at my friend Ti Kan's place in Sunnyvale. I had dropped by to pick up some AMB.orgboards for an amplifier and DAC I was building at the time, I believe it was around 2015. Sitting in his listening room, I was completely blown away by the open sound and crystal-clear imaging. The audio didn't just play; it completely enveloped the room. He had a pair of CBT-36 line array speakers he had built himself.
I knew right then and there: I am going to build a pair of these someday.
1.1 // WHY NOW?

Once I got back home from my US trip, I couldn't get that sound out of my head.

I started looking online to see what it would actually take to build a set. Parts Express offered a complete kit that included the CNC-cut woodwork, all the main elements, tweeters, resistors, and wiring.

The total cost for the kit, including shipping and taxes, came out to roughly $2,500. It was a significant investment, and it took me a while, and the sale of a few pieces of studio equipment, to finally be able to afford it. But the memory of that listening session made it an easy decision.
1.2 // THE SOUND THEORY
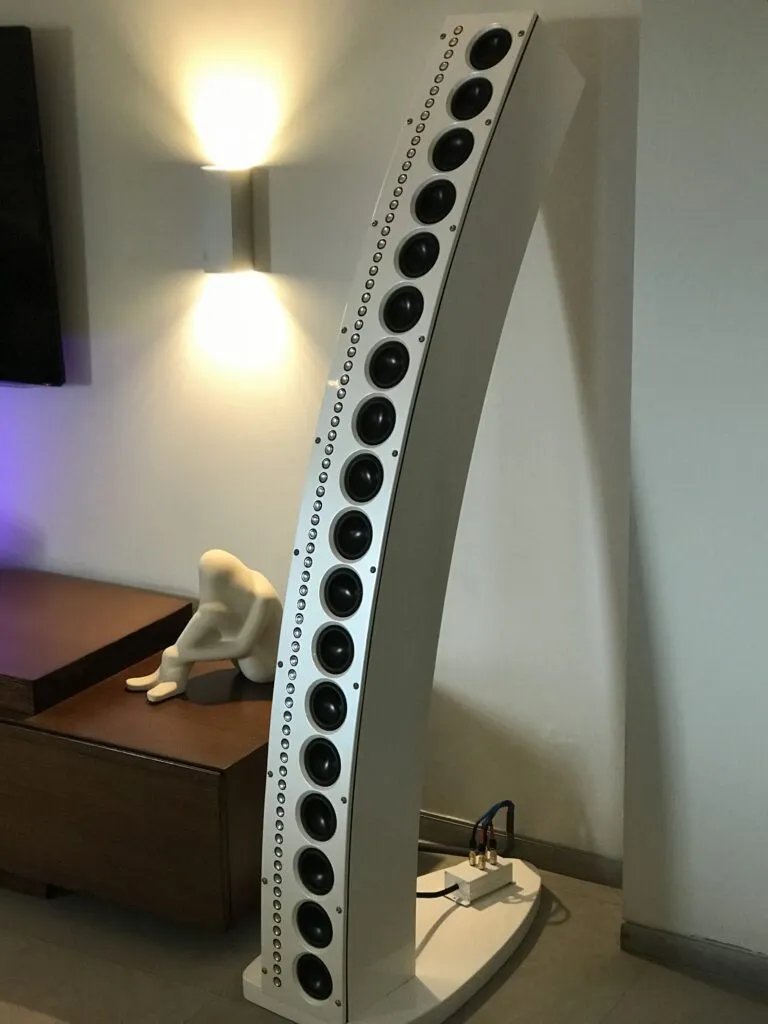
To understand why these speakers sound so magical, you have to look at the theory behind Constant Beamwidth Transducers (CBT). Invented by legendary audio engineer D.B. "Don" Keele Jr., the CBT design utilizes a curved line array paired with electrical "shading" (progressively lowering the volume of the drivers toward the top).
You can check out the original CBT patent US Patent 7,826,622.
This design offers a few massive advantages:
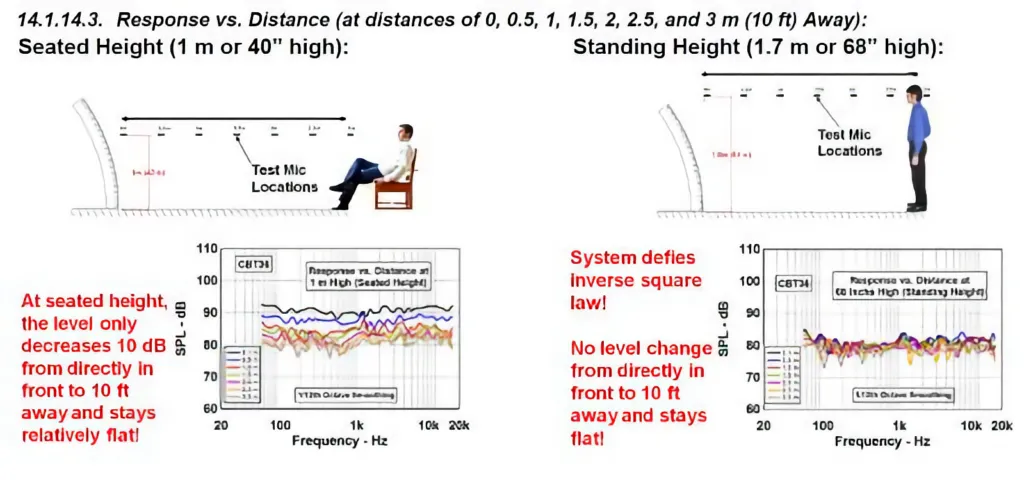
Floor Reflections are Eliminated: The unique curvature and signal shading practically erase the detrimental effects of floor bounce, which normally muddies the sound in traditional speakers.
Effortless Dynamics: Because the system relies on a massive number of drivers, each individual cone barely has to move to produce sound. This minimizes distortion drastically.
Massive Output: When paired with powerful amplifiers, this army of drivers can generate extremely high instantaneous peaks, allowing the system to play incredibly loud while remaining perfectly clear and effortless at all volume levels.
1.3 // SYSTEM REQUIREMENTS

This is not a simple "plug and play" speaker. The CBT-36 is an active, bi-amped system, meaning there is no internal passive crossover hidden in the cabinet.

The Drivers: Each tower houses 18 full-range 3-1/2" drivers and an astonishing 72 wide-band 3/4" tweeters.

DSP Processing: Because of the complex array, special EQ settings and active crossovers are strictly required. This is handled by a dedicated Digital Signal Processor (DSP), such as a Behringer DCX2496 or a miniDSP.

Low End: The massive towers natively only reach down to about 50Hz, meaning a dedicated subwoofer is absolutely required to achieve a true full-range system.
1.4 // THE KIT ARRIVES
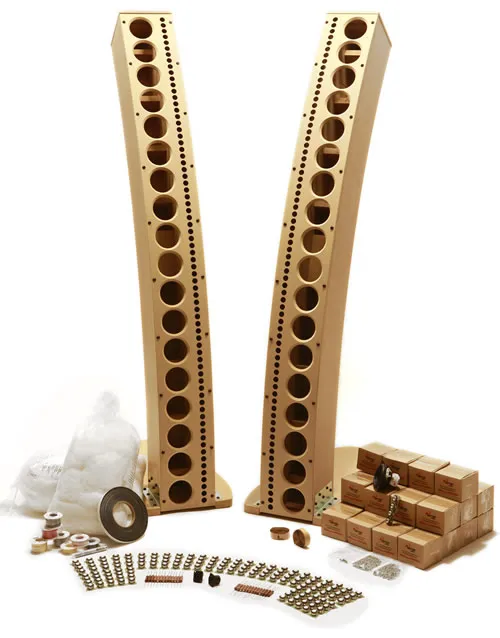
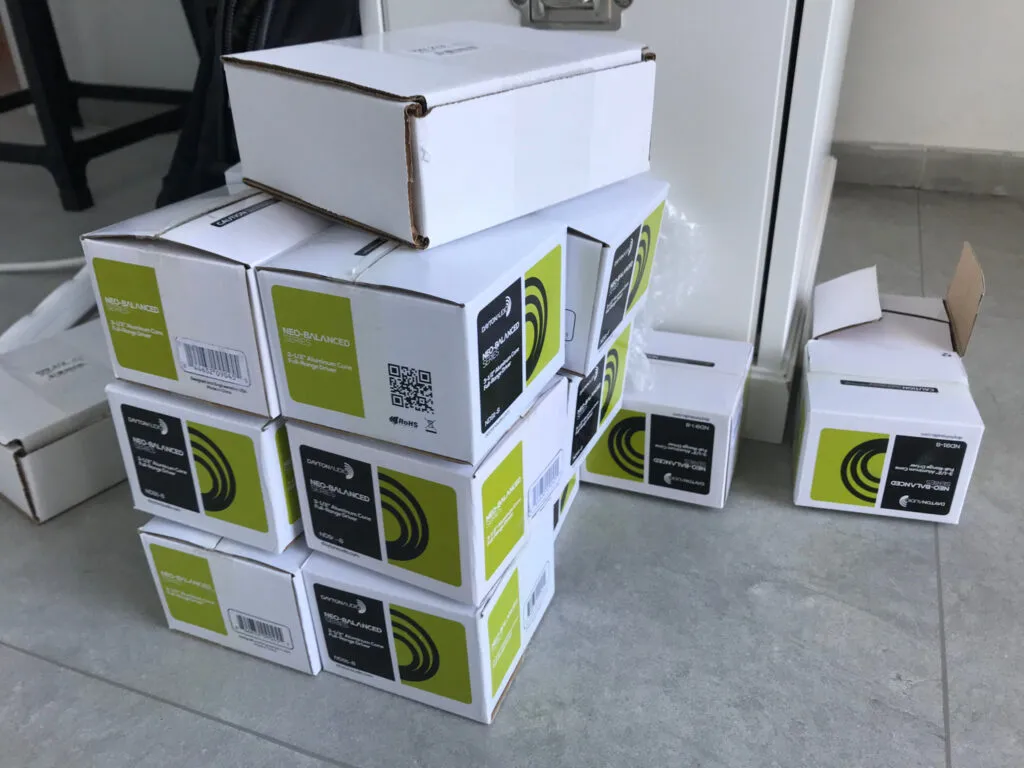
Delivery day was an event. The kit arrived from Parts Express in a series of very large, very heavy boxes
The main boxes held all the precision-cut wood elements for the curved cabinets, while a multitude of smaller boxes contained the 36 full-range drivers, 144 tweeters, and all the necessary wires, hardware, and resistors for the shading network.
It was intimidating, but exciting.
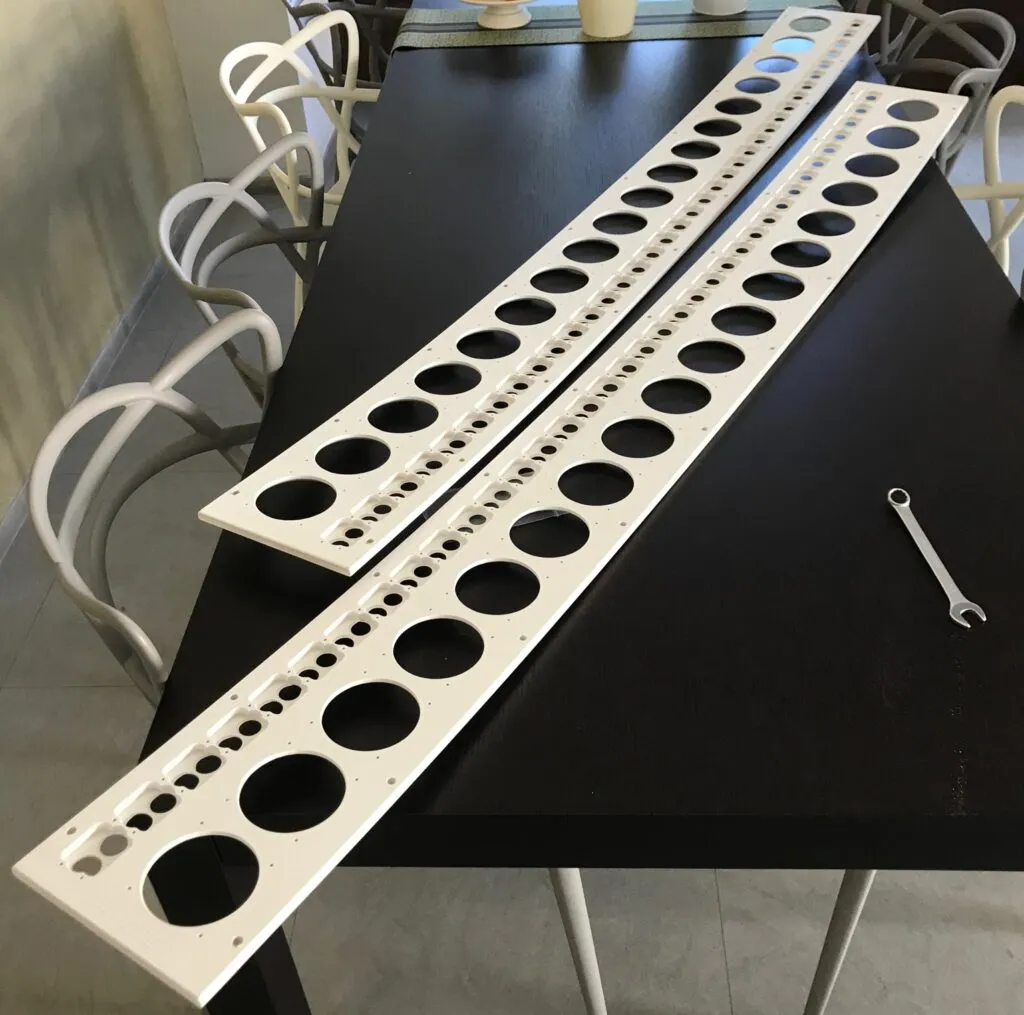
1.5 // WOOD AND PAIN

Putting together the cabinets was an exercise in patience starting with the real labor of love began: sanding.

I spent hours smoothing out the joints and prepping the MDF surfaces to ensure there were no visible seams. I wanted these to look as good as they sounded, so I applied a high-quality primer followed by a few coats of sleek, durable paint.
It was a dusty, messy process, but seeing the smooth, monolithic curves take shape made every hour of sanding worth it.
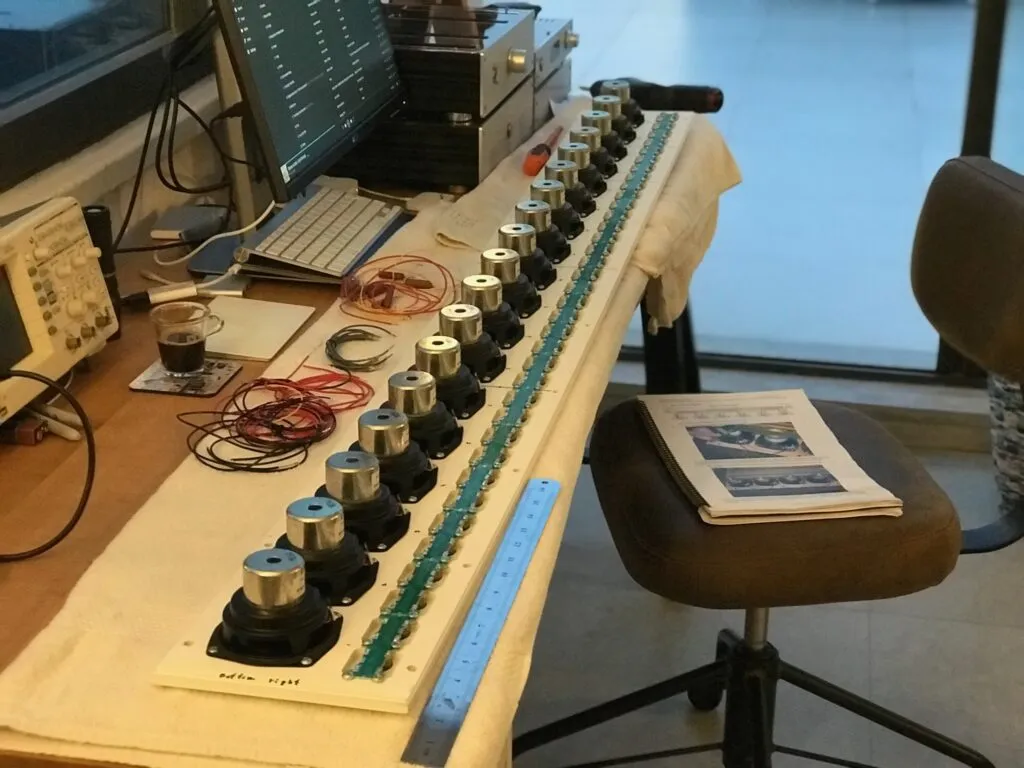
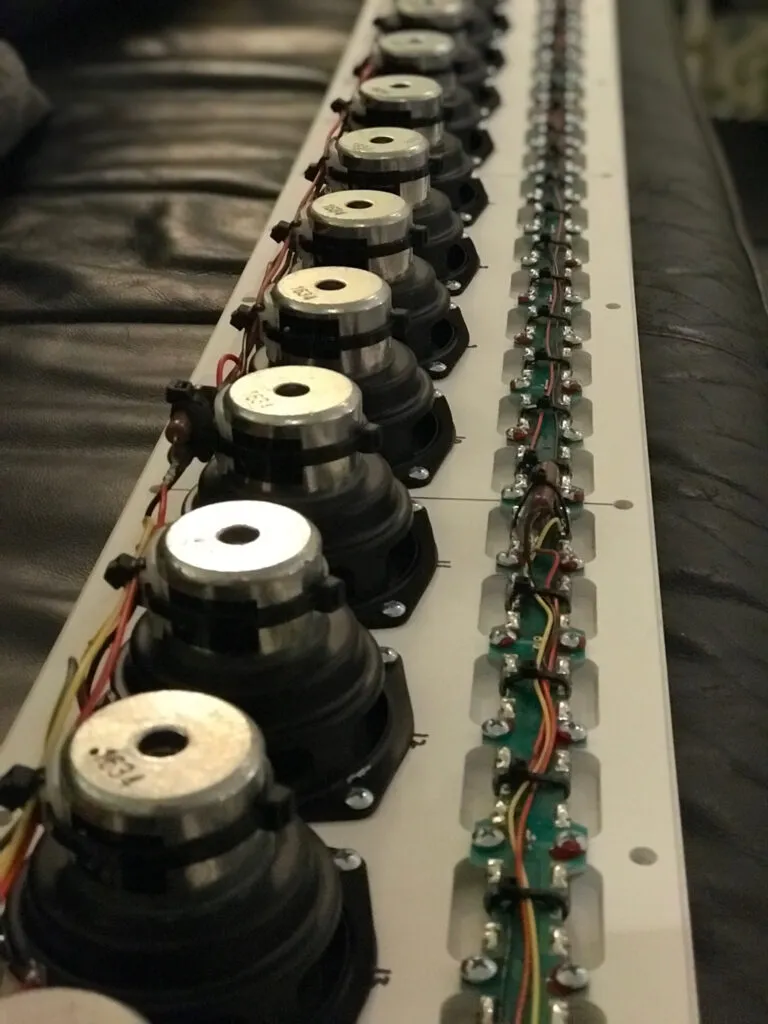
1.6 // WIRING THE ARRAY

Building the front baffle is where the actual electronics come into play. I grabbed the tall front panel and laid it carefully across a set of thick towels to protect the finish.

The process is highly repetitive but deeply satisfying:
- Placing and securely screwing down the 18 full-range drivers.
- Mounting the quad-tweeter arrays.
- Soldering and connecting the complex web of wiring.
- Installing the specific resistor networks to achieve the necessary "shading" for the top drivers.

Once everything was connected, I secured all the loose cables with wire wraps to prevent any internal rattling.
1.7 // FINAL ASSEMBLY

Before attaching the heavy, fully-loaded front baffle to the curved cabinet, I applied weather-stripping isolation tape along the edges. This creates an airtight seal, ensuring there are no audio or pressure leaks. Next, I lined the inside of the cabinet with acoustic absorption material to dampen internal standing waves and cabinet vibrations.

Finally, I carefully lifted the loaded front panel, connected the main heavy-gauge wires to the rear binding posts, and secured the baffle to the cabinet.

Here's a nice 5 minutes video guide of the build process.
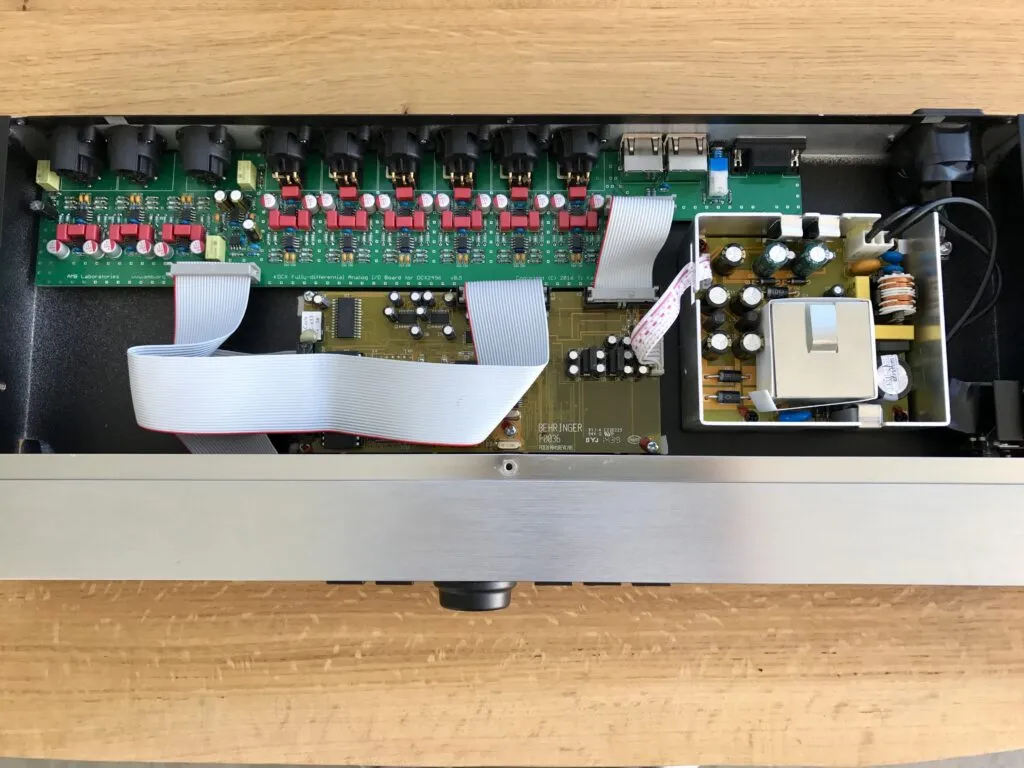
1.8 // SOUND PROCESSOR AND SETUP
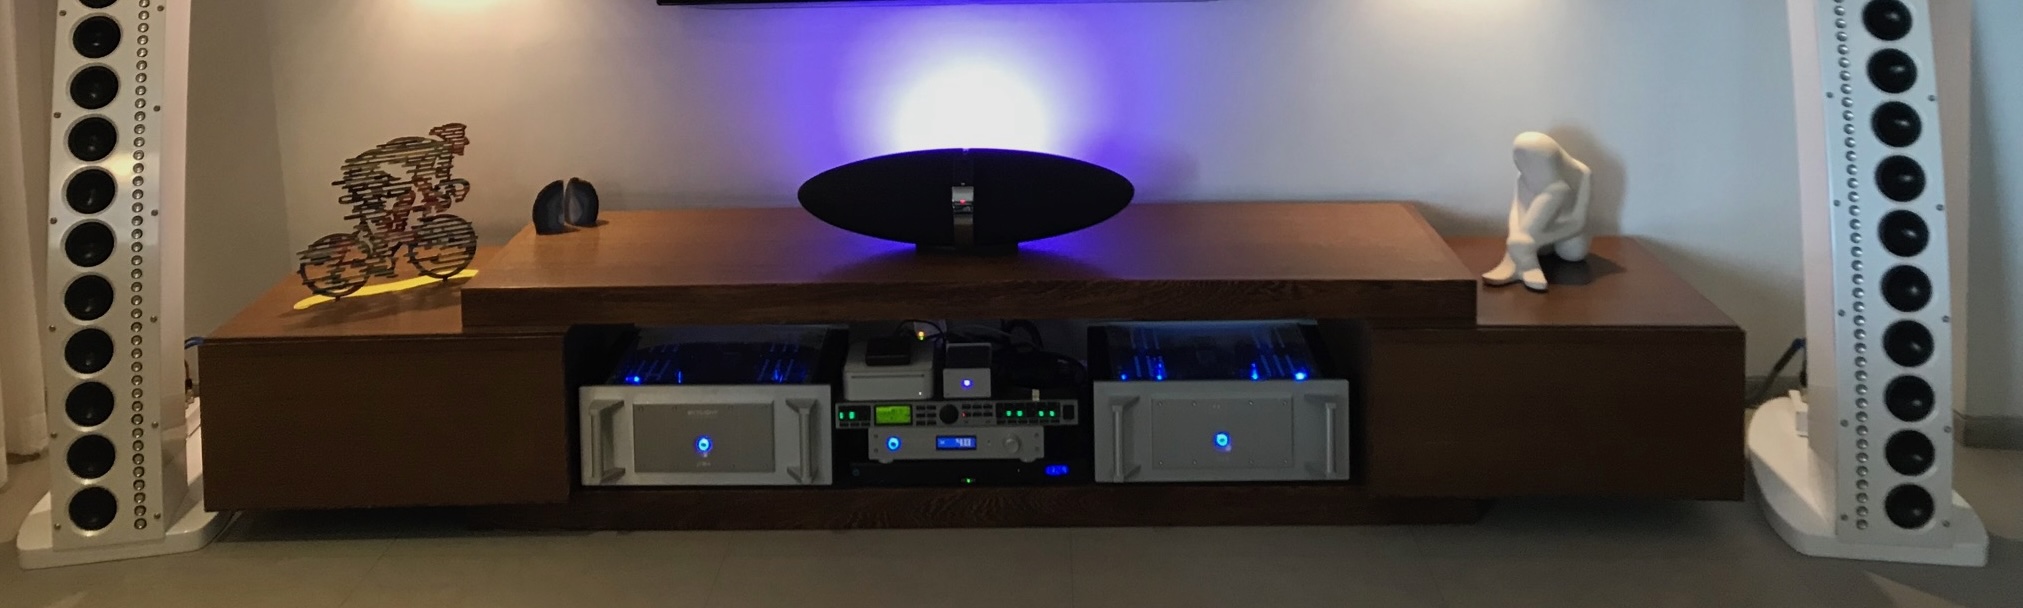
As mentioned, standard passive crossovers won't work here. To get the system to sing, I installed a Behringer DCX2496 to handle the DSP duties.
Setting it up involves meticulously inputting a specific EQ curve and dialling in the crossover points between the full-range drivers and the tweeter arrays. It is much more elaborate than a traditional setup.
I had upgraded my Behringer 2496 with amb.com upgrade kit which replaces the entire analog path with high quality op-amps. I've also upgraded the DAC SOIC ICs. This provided superior sound.
Pro Tip: Once the initial setup is complete, you might find the top end a bit harsh depending on your room. If the sound is too bright, simply reduce some of the >1 kHz EQ settings from a 3dB boost down to 2.5dB. I found this instantly smoothed out the sound and fixed the issue.
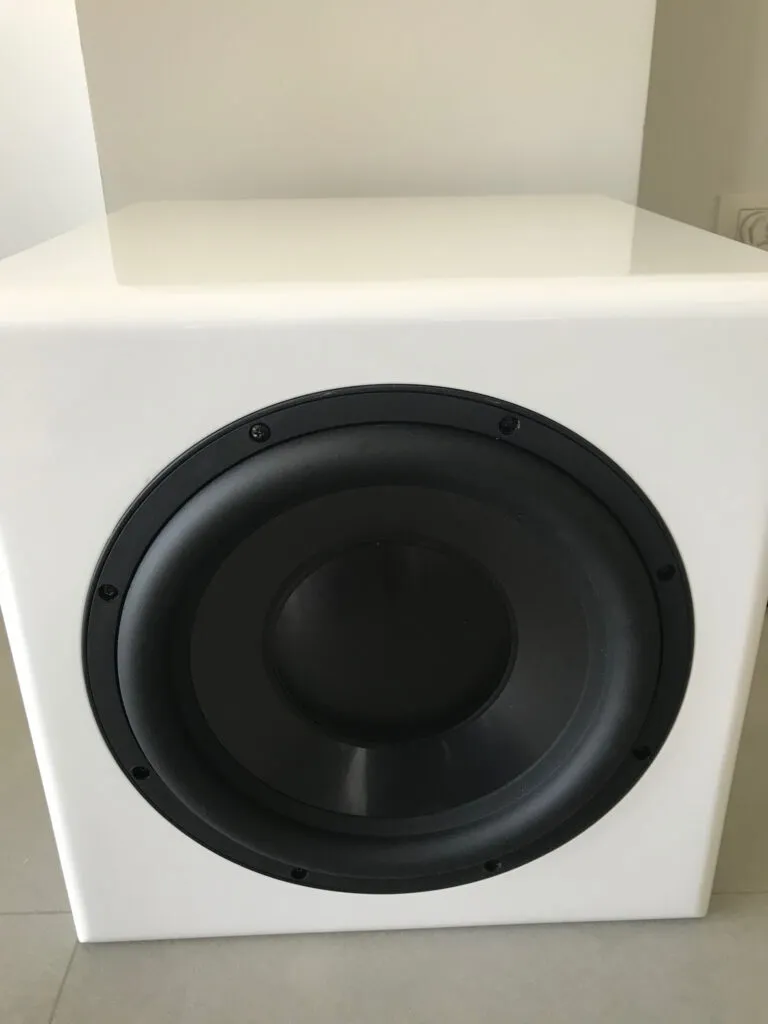
1.9 // ADDING THE SUBWOOFER

I initially fired up the system without a subwoofer, but I quickly realized I was missing out. The speakers simply weren't powerful enough in the lowest bass registers.

I headed back to Parts Express and purchased DIY subwoofer elements, a cabinet, driver element, and a plate amplifier. As I was frequently traveling aboard, I had purchased them one by one, bringing heavy parts with me in my suitcase.

This time I had to glue and clamp the enclosure as it came in parts. I used the exact same paint color on the sub cabinet to match the main towers, and integration was a breeze.

I went back into my sound processor and set a high-pass cutoff at 80 Hz for the CBTs to make room for the sub. I currently use a single subwoofer since low bass is generally non-directional, though there are certainly purists out there who advocate for stereo subwoofers for the ultimate low-end soundstage. For my room, the single sub fills out the bottom end beautifully.
2.0 // THE VERDICT
All the money, all the sanding, and all the meticulous wiring culminated in the moment I finally sat down in the sweet spot and hit play.
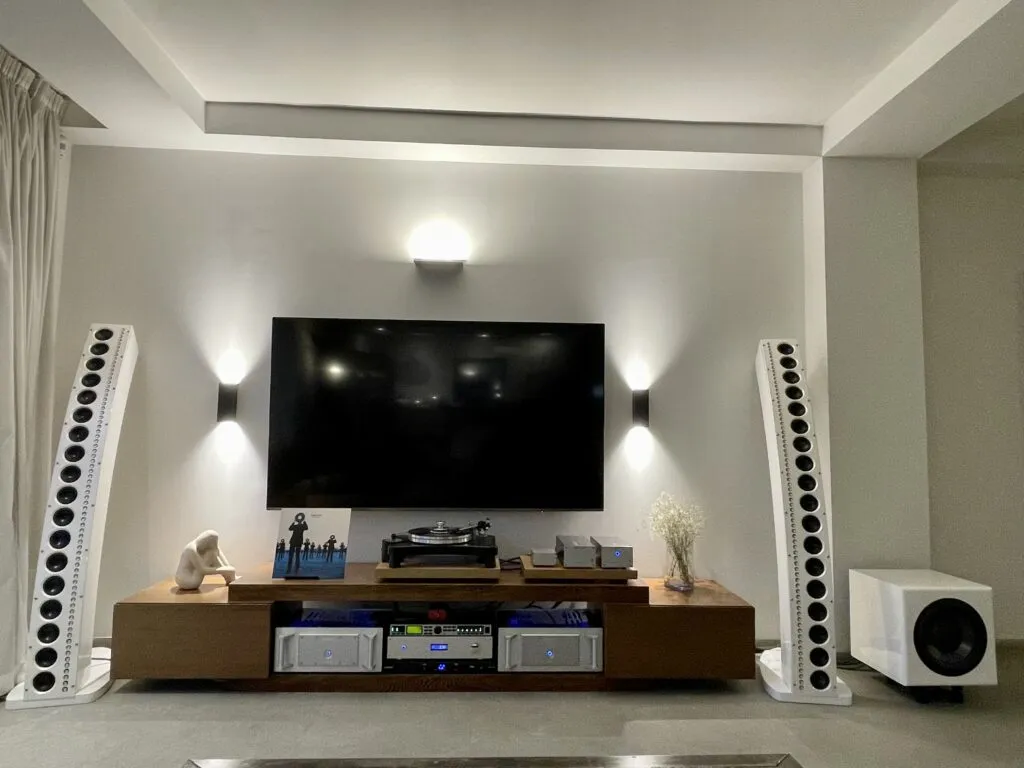
The CBT-36s don't just reproduce sound; they completely transport you. The promise of the Constant Beamwidth Transducer theory is real: the soundstage is impossibly wide and tall, and the imaging is laser-precise. Because of the sheer number of drivers moving such small amounts of air, the music sounds incredibly effortless. You can push the volume to concert levels, and the speakers never sound strained, harsh, or distorted.
They matched, and perhaps exceeded, the memory of that first listening session in Sunnyvale. Building the CBT-36 was an ambitious, challenging project, but the result is a world-class audio system that I get to proudly say I built with my own hands.