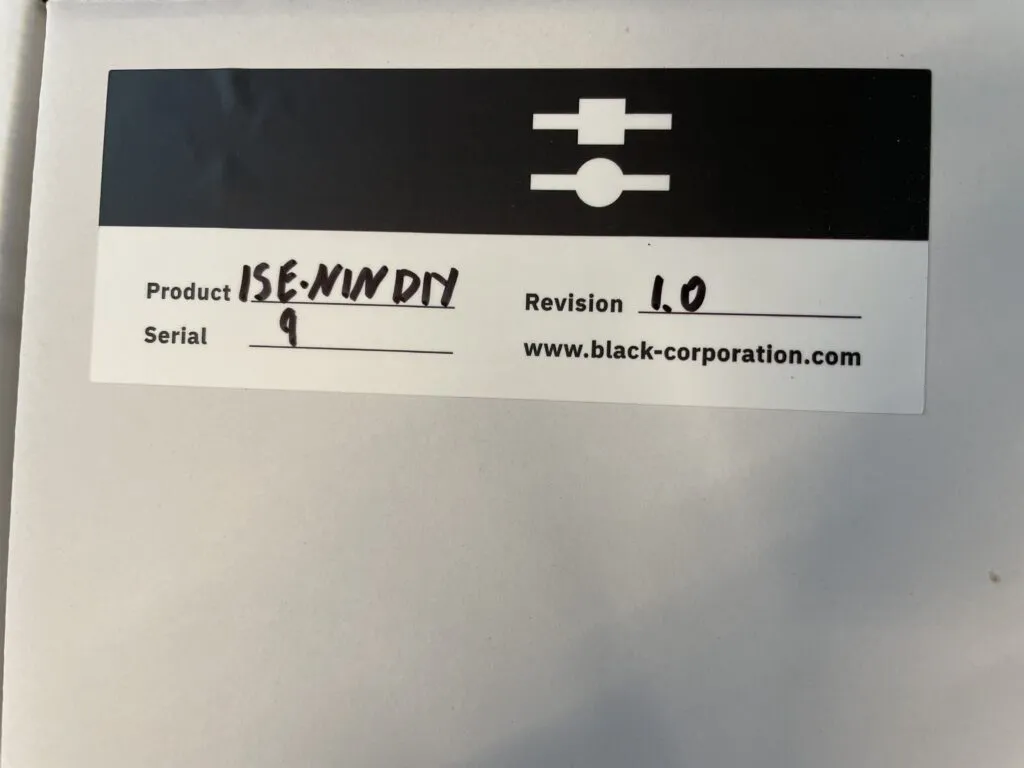
STATUS: COMPLETED
CATEGORY: POLY SYNTHS
YEAR: 2022
THE MISSION: JUPITER-8 RECREATION
Back to 1981: Recreating the Roland Jupiter 8
For many, the Roland Jupiter-8 is the "final boss" of analog poly-synths. It defined the sonic landscape of the 1980s, appearing in the rigs of Tangerine Dream, Depeche Mode and Prince to name but a few.
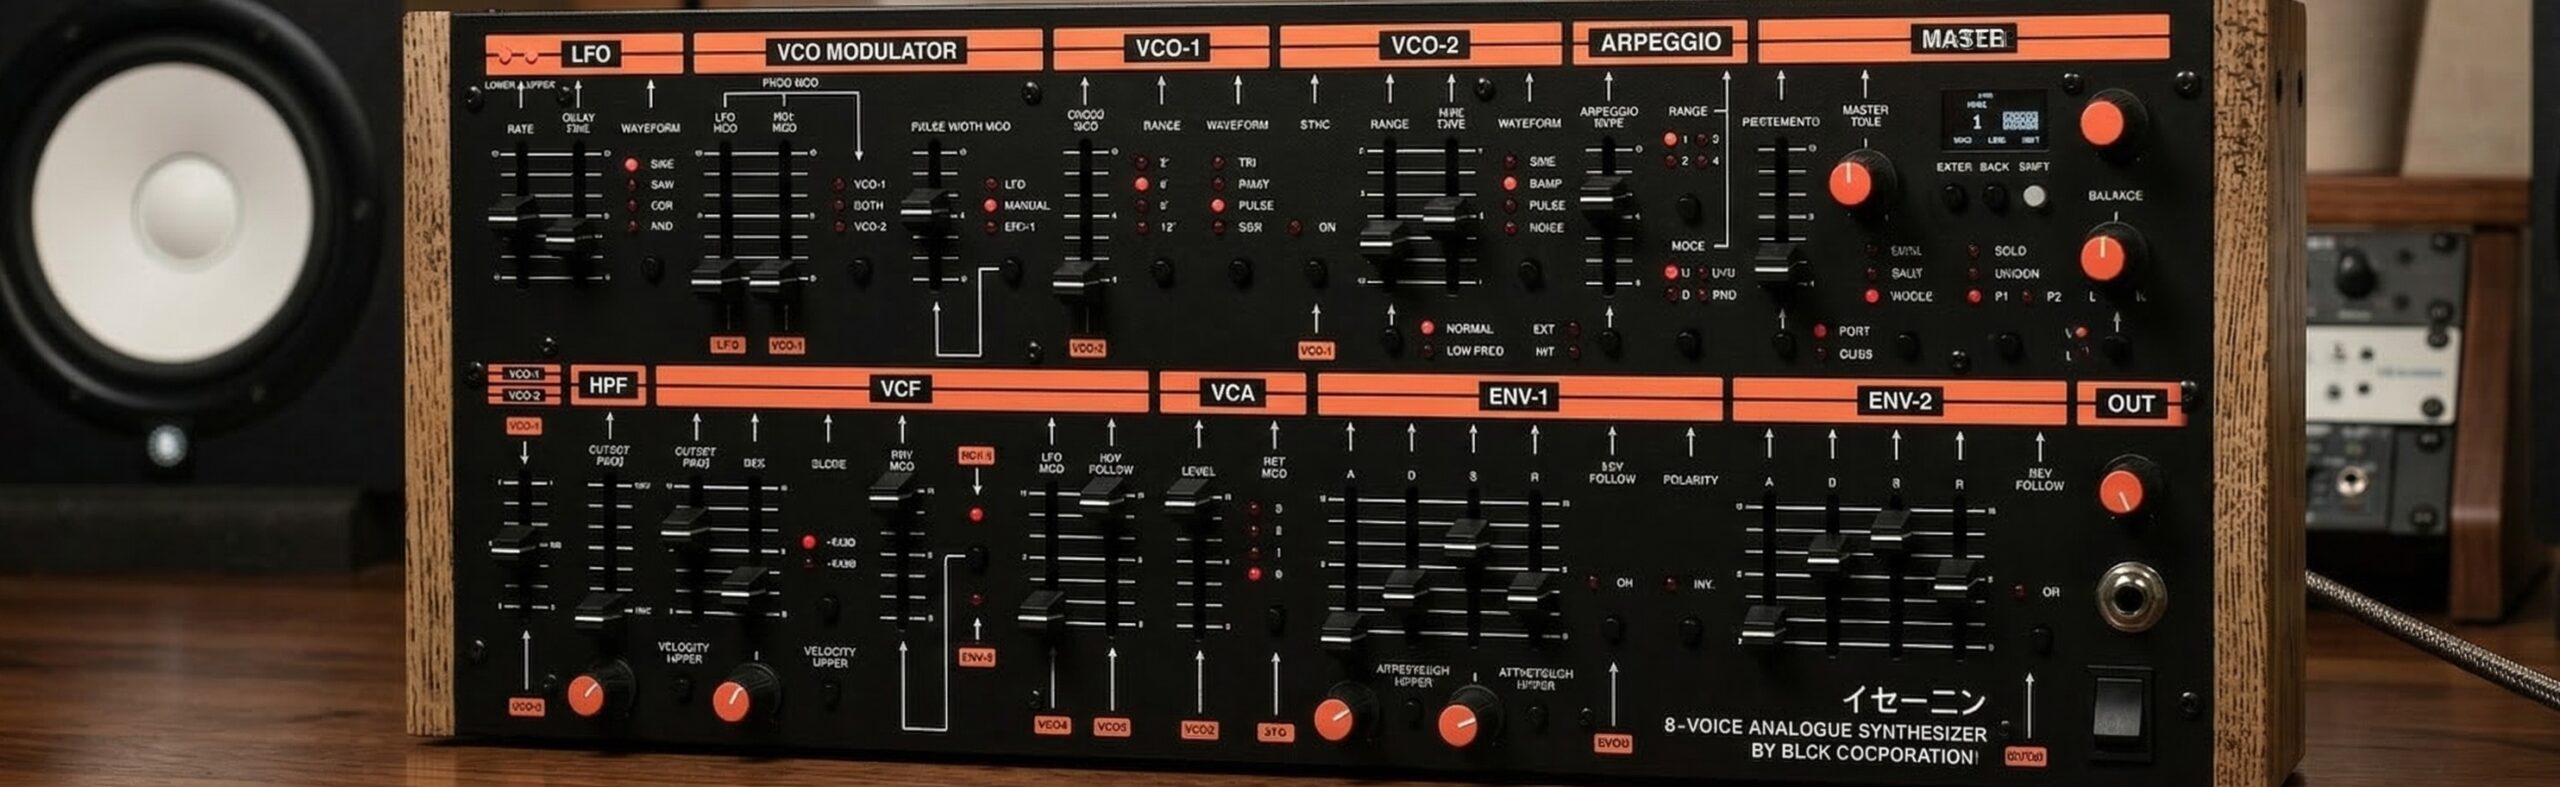
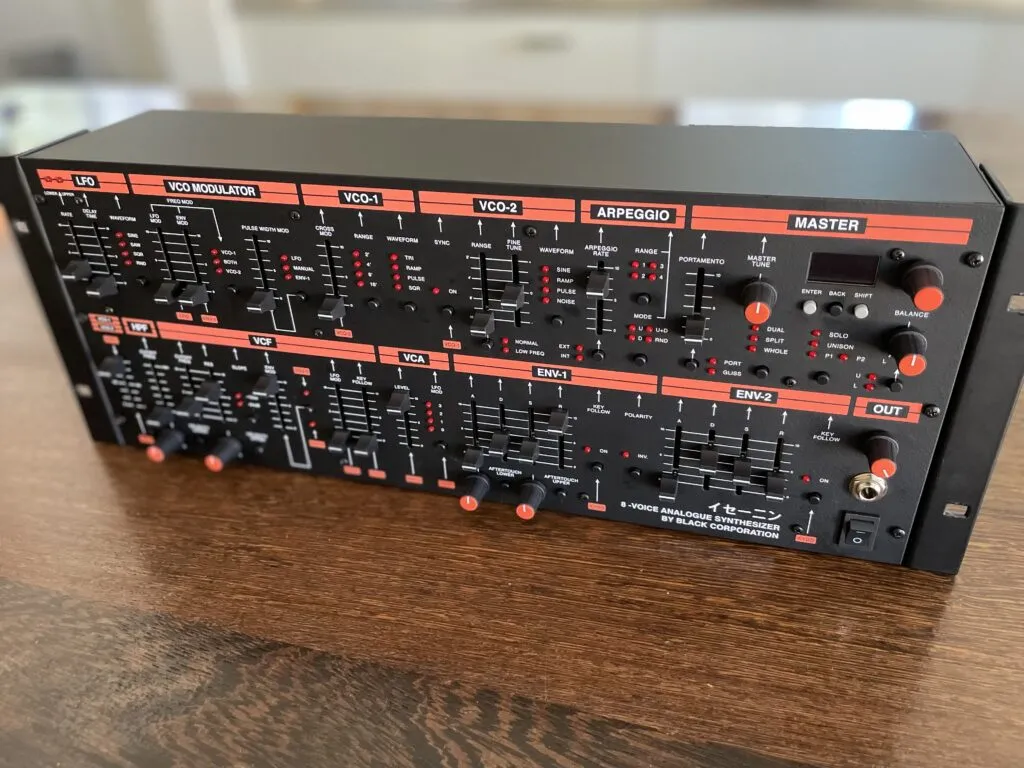
It isn't just about the aesthetics (it looks awesome!); it's about the architecture. The Roland Jupiter 8 has that signature "creamy yet aggressive" character, specifically the interaction between the resonant low-pass filter (switchable between 12dB and 24dB modes) and the non-resonant high-pass filter.
In a market where original units fetch five-figure prices, the Black Corp ISE-NINoffers the only authentic path to that discrete analog soul without the vintage price tag.
1.1 // A MASTERPIECE OF MINIATURIZATION
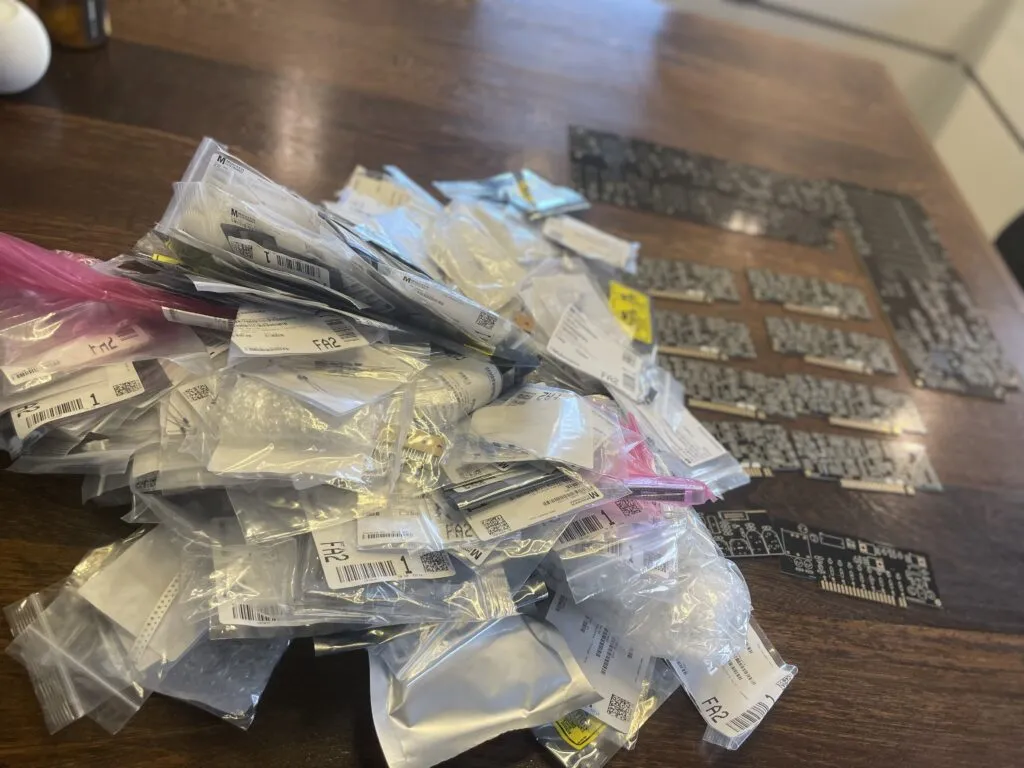
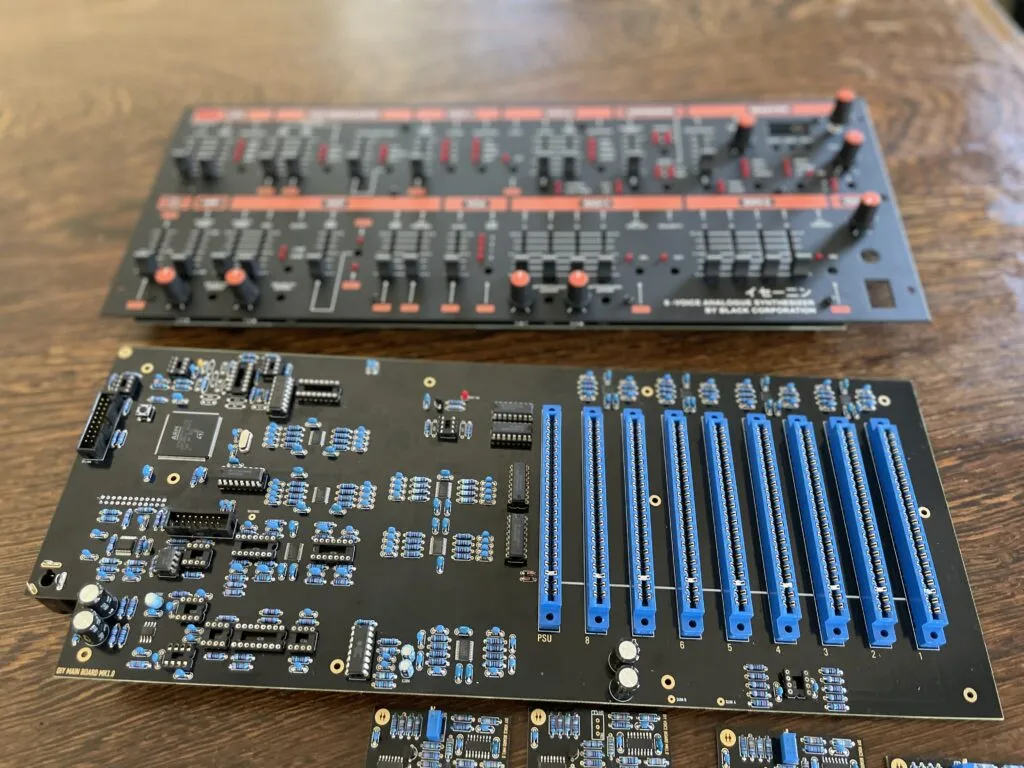
Unlike its sibling, the Deckard's Dream, the ISE-NIN is impressively compact. The kit consists of the main PCBs, a high-quality front panel, and eight daughterboards (the voice cards).
The engineering here is dense; fitting eight voices of Jupiter-style circuitry into this footprint requires a level of precision that commands respect before you even power it on.
1.2 // A GLOBAL LOGISTICS OPERATION

Building an ISE-NIN is an exercise in global supply chain management:

Components: Bulk orders from Mouser.

Specialty Items: Boutique knobs and noise ICs from Thonk (UK).

Visuals: OLED displays sourced from eBay (pro-tip: buy a spare, as OLEDs have a finite lifespan, though the OS screensaver helps).

Power: A robust 12V 3A PSU from AliExpress to ensure the analog rails stay stable.
1.3 // THE ASSEMBLY LINE MENTALITY
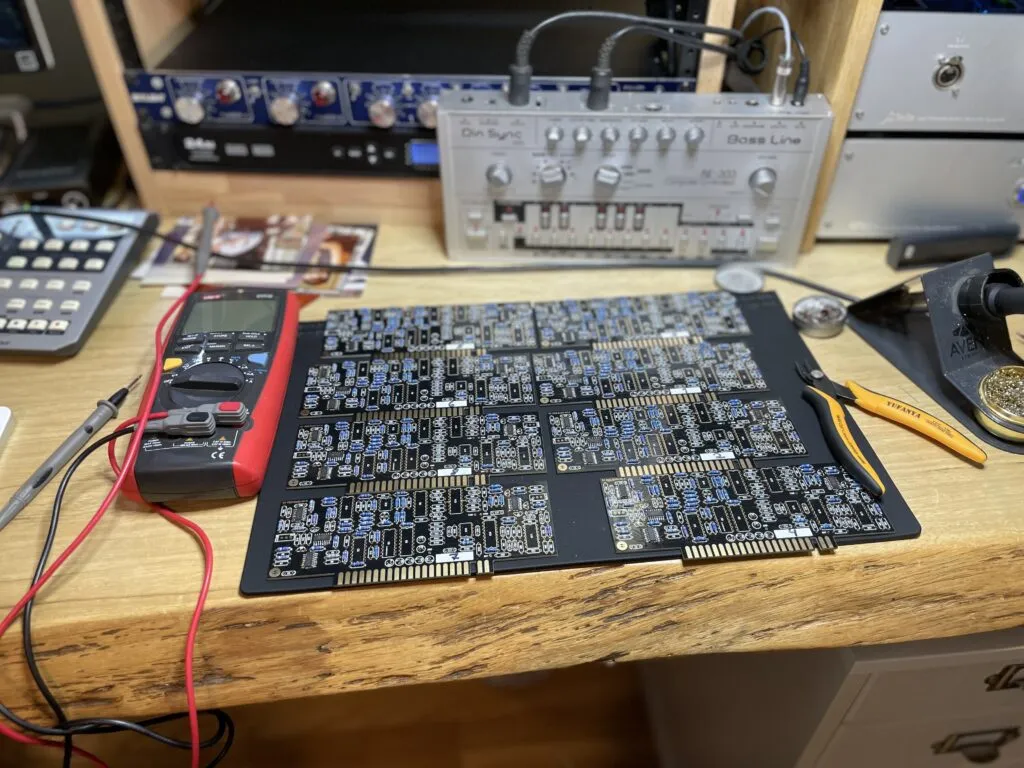
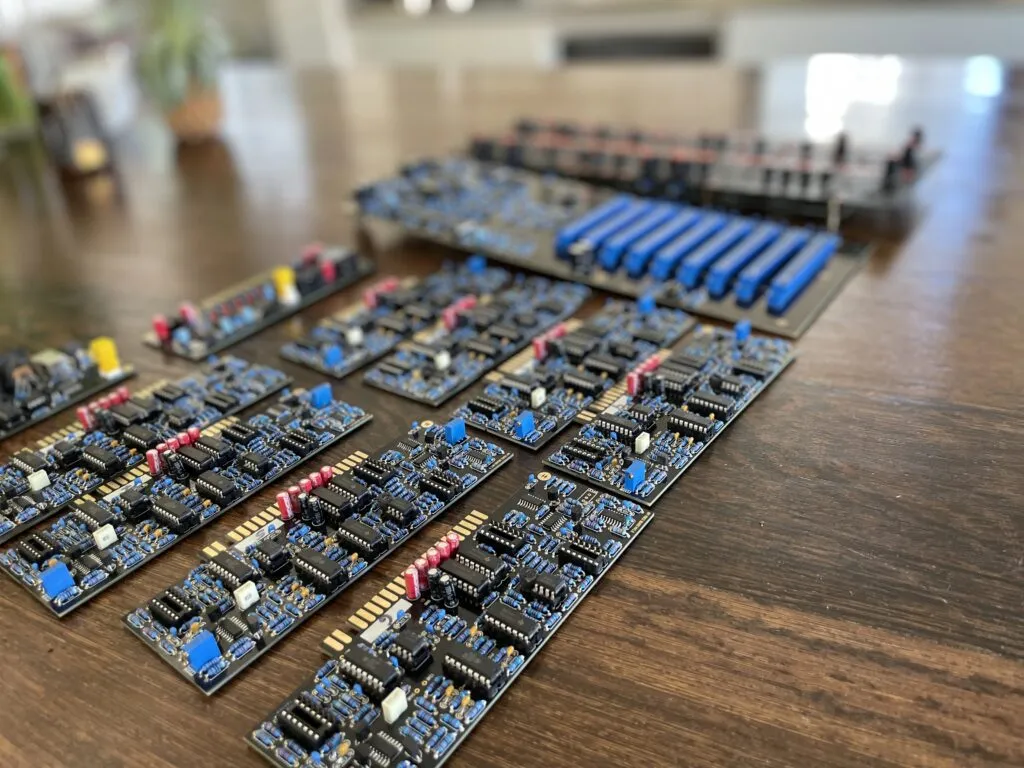
The secret to a successful build is sequencing. I tackled the eight voice boards simultaneously. By installing one specific component across all eight boards before moving to the next, you develop "muscle memory" for the layout.
Builder's Tip: Delay soldering as long as possible. Place your components, double-check the values against the BOM (Bill of Materials), and only then commit with the iron. It's much easier to move a loose resistor than a soldered one.
1.4 // MASTERING SMT: PRECISION

This build is not for the faint of heart. With 350 SMT capacitors and 32 SOIC-format ICs, surface-mount soldering is the name of the game.

Flux is your best friend: Apply it liberally to the pads before placing the part.

Start Small: Begin with the passive capacitors to get your "hand in" before moving to the ICs.
Bridges are the Enemy: Use minimal solder on IC pins. A magnifying lamp or digital microscope is essential here to ensure no pins are bridged.

Once the ICs are soldered, test each adjacent pin due with a multimeter for bridges. Also, worthwhile to view a few SMT soldering tutorials on YouTube.

1.5 // ARCHITECTURE: SINGLE vs. DUAL MINDS

The ISE-NIN mirrors the Jupiter's flexibility. It can be treated as a massive single 8-voice mono-timbral synth or a dual 4-voice layer/split.

Layering two different patches (Dual Mode) creates the thick, harmonically rich textures that made the original 1981 hardware famous.
1.6 // THE RITE PASSAGE: CALIBRATION

You don't just "turn on" an ISE-NIN; you bring it to life. You need to calibrate it before proper use, so follow this sequence:

Thermal Stability: Let the unit warm up for at least 30 minutes so the analog components reach operating temperature.

Physical Reset: Center all detent pots and sliders.

The Sequence: Start by tuning the oscillators, continue with adjusting the filter resonance via the onboard trimmers and front panel mode, finally perform the full filter VCF calibration.
1.7 // FINAL VERDICT

There is a specific, heart-in-throat moment when you flip the power switch on a DIY build of this magnitude for the first time. After weeks of squinting at SOIC pins and double-checking BOMs, the ISE-NIN doesn't just "turn on", it wakes up.

The Sound: It is, in a word, mammoth. While modern digital recreations are impressive, they lack the "electricity" you feel here. The ISE-NIN has that signature Jupiter-8 instability, that microscopic drift between the eight voice cards that creates a natural, lush chorus effect without any processing. Engaging the Dual Mode and layering a pulse-width-modulated lead over a sub-heavy pad is a religious experience for any synth lover.

The Build Experience: This kit is a marathon, not a sprint. It demands respect and patience. However, the documentation from Black Corporation is stellar, online community is very supportive and the satisfaction of seeing those 8 voice boards calibrated and singing in unison is unparalleled.

Is it worth it? If you want the "set it and forget it" convenience of a VST, look elsewhere. But if you want a living, breathing instrument that carries the DNA of 1981 into the modern studio, and the pride of knowing every solder joint was placed by your own hand, the ISE-NIN is the ultimate DIY achievement.

The Jupiter-8 was a dream for most; the ISE-NIN made that dream a reality on my workbench.
2.0 // THE BUILDER'S TOOLKIT

To successfully navigate a high-density SMT (Surface Mount Technology) build like the ISE-NIN, you need more than just a basic iron. Here is what stayed on my desk:

The Iron: A temperature-controlled station set to exactly 330∞C-350∞C. Anything hotter risks lifting the delicate traces on the voice boards.

The Flux Pen: Non-clean tacky flux. I applied this to the pads before every single IC placement. It's the difference between a clean joint and a bridge.

Magnification: A 10x LED loupe or a digital USB microscope. You cannot trust your naked eye with SOIC pins; you need to see the "fillet" of the solder.

Precision Tweezers: Anti-static (ESD-safe) tweezers with a fine point for nudging those 350 capacitors into alignment.